Not many recipes begin with "Step 1: fly to Arizona" but on our recent trip out west Mom and I paid a visit to my cousin's house, or more specifically, his lemon trees.
We thought that we'd pick a few lemons, box them up and ship them home at a flat rate. Lemons are so expensive in Ohio, around 80 cents each, that we figured it'd be worth the trouble.
Despite my love for every- and anything lemon, I had no idea about how they grew. I figured they grew on trees somewhere vaguely south but as far as I was concerned, they might as well have been little zesty jewels filled with yummy wonder and sunshiney goodness magically delivered by citrus fairies. I just had never really thought about it. My best guess involved a yellower version of an apple tree, which has been the sum total of my experience with fruit trees thus far.
I wasn't too far off, except I wasn't prepared for just how
many lemons a lemon tree can hold. Or how large lemons can become when they're allowed to fully ripen. My cousin's wife apologized for how small this year's lemons were, while holding a fruit about the size of a softball. I boggled...and quickly came to realize that the lemons I'd been loving and treasuring my entire life were just a sad parody of the real thing. (If you will, "
lemons" vs. "
LEMONS!!!!") I was standing in the sunshine picking fruit off its tree in January and my hands were sticky with lemon oil - the world was warm and smelled wonderful. I was in heaven.
Needless to say, within about 20 minutes, I had picked five or six grocery bags full - far more than would fit in our flat rate shipping boxes. Luckily, my aunt offered us a spare suitcase and, after some careful packing, weighing and stashing extra citrus in our other bags, we were able to check our bounty in with our other luggage. All in all, I think we had 60 pounds of citrus. (navel oranges and tangelos too, but mostly lemons) Dreams of all that lemonade made the blizzard we came home to a little bit easier to bear.
A few days later, Mom and I realized that the lemons were going to go a lot further than we thought. Just how much frozen lemon juice and dried zest would someone need, right? Mom made limoncello, which used 12 lemons...but we still had
bags left over. What to do, what to do. Suddenly, I had an idea.
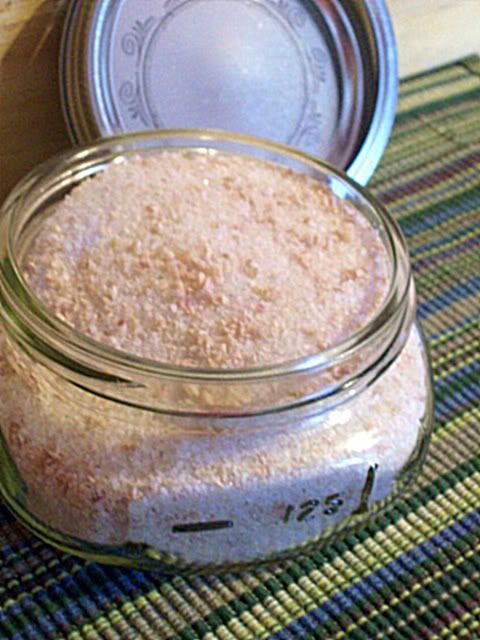
Marmalade.

All that sunshine, preserved. Gorgeous, isn't it?
(
here's the recipe)